Building a PC for beginners could feel challenging. If you are one of them who is building a PC for the first time then you are at the right place. In this article, we will give you detailed information about Building PCs for beginners. We also cover some important factors that can help you to avoid any mistakes. Read this article till the end and you become a pro PC builder.
Step 1: Buy Necessary Parts
Before you start building a PC, make sure you have all the parts you need. If you haven’t picked and bought the necessary hardware yet, do that first. Also, check that the components you chose work together and will fit in the computer case you want to use.
Case: This is where you assemble all your computer pieces, and there are various sizes and styles to choose from. If you’re just starting, a mid-sized ATX case is a good option for beginners.
Monitor: This is the screen that displays everything on your computer. Choose one that suits your preferences, like size and resolution.
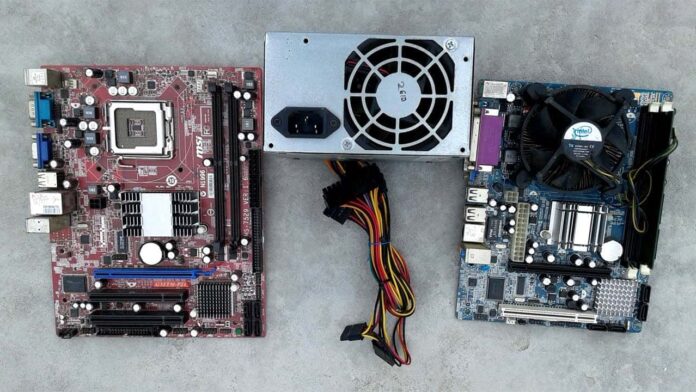
Motherboard: This is like the central hub of your computer. It connects all your parts and decides if they work well together. Pick one that works with your CPU, and RAM, and has the things you want, like Wi-Fi or USB ports.
CPU (Central Processing Unit): This is like the brain of your computer. It does all the thinking and processing. Choose a CPU based on what you want to do with your computer, like gaming or video editing, and make sure it works with your motherboard.
RAM (Random Access Memory): This is like the short-term memory for your computer. It stores data that the brain (CPU) is currently using. Having more RAM usually makes your computer work better, but for most people, starting with 8GB is a good idea.
Storage: SSDs are faster than regular hard drives (HDDs) when it comes to starting up your computer and opening programs. Think about getting a smaller SSD for your operating system and programs you use a lot and a bigger HDD for storing a lot of files.
Power Supply: This gives power to all the parts of your computer. Pick one with enough power for what you have now and might add later (you can use an online calculator to figure this out).
Keyboard and Mouse: These are the tools you use to work with your computer. Choose ones that feel good to use and match what you like, whether it’s a specific design or extra features.
Graphics Card (GPU): It’s not necessary for regular tasks, but if you enjoy gaming or using demanding programs, you’ll want one. Choose a graphics card that suits your budget and meets your performance requirements.
Step 2: Assemble all parts
Installing the CPU and cooler: Carefully attach the CPU to the motherboard, apply thermal paste (if you’re using an aftermarket cooler), and secure the cooler.
Adding the RAM: Place the RAM sticks into the corresponding slots on the motherboard, making sure they click into place.
Adding the SSD/HDD: Mount the storage drives in the designated bays and connect them using SATA cables and power connectors.
Mounting the motherboard: Secure the motherboard in the case using standoffs and screws.
Connecting the CPU power and front panel connectors: These cables are typically labeled for easy identification.
Installing the graphics card (if using): Secure the GPU in its PCIe slot and connect its power cables.
Connecting extra peripherals: Plug your monitor, keyboard, mouse, etc., into the appropriate ports on the back of the case and motherboard.
Powering on and installing the operating system: Plug in the power supply and press the power button. Insert your OS installation media and follow the on-screen instructions.
Conclusion
We covered the important steps for beginners building a PC. If you want more details, just comment. Thank You for reading!


